
Release Overview
What’s New
- Improved composition manager experience.
- Template support on Individeo.
- Transfer project to another company.
- Supplement project details with project metadata.
- Accessibility Updates
Release Details
INDIVIDEO Plugin
Improved Composition Manager Experience
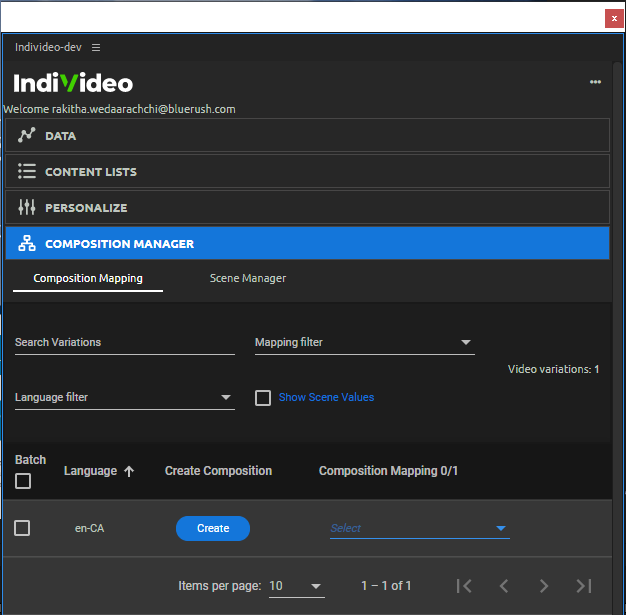
The composition manager of the IndiVideo plugin now has a new and improved user interface.
INDIVIDEO Portal
Template Support on Individeo
Introduction
Individeo platform now supports an exciting new feature that allows it’s user to create videos from pre-made templates. Additionally, you can now convert any existing project to a template very easily.
Once you publish a template from your project, anyone will be able to pick this from the ‘Template Gallery’ (more on this later!) and start creating and customizing their own video with 5 easy steps.
Creating a Template
You can now easily create a template from an existing project. First select any project of your liking and click on the 3-dot menu of the media item you wish to publish as a template. Click ‘Create template’ as shown below
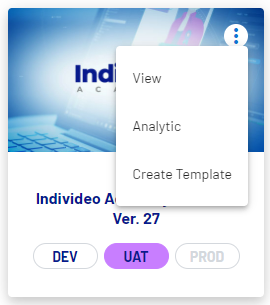
Keep in mind that the language of the media item will be the language of the template that gets published.
The deployment status of the media item should be UAT or PROD for it to be published as a template
Enter Template Metadata
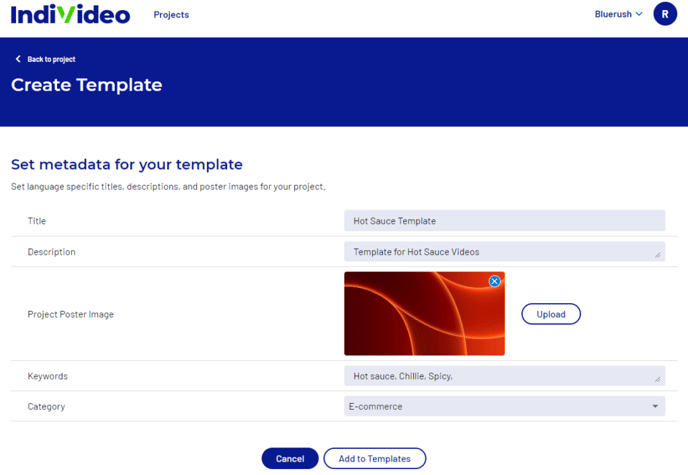
When publishing a media item as a template, you will be prompted to enter some details regarding the template called ‘Template Metadata’. This will allow you to enter details regarding the template and ensure that your template will be categorized correctly within the system for others to use.
The Template Gallery
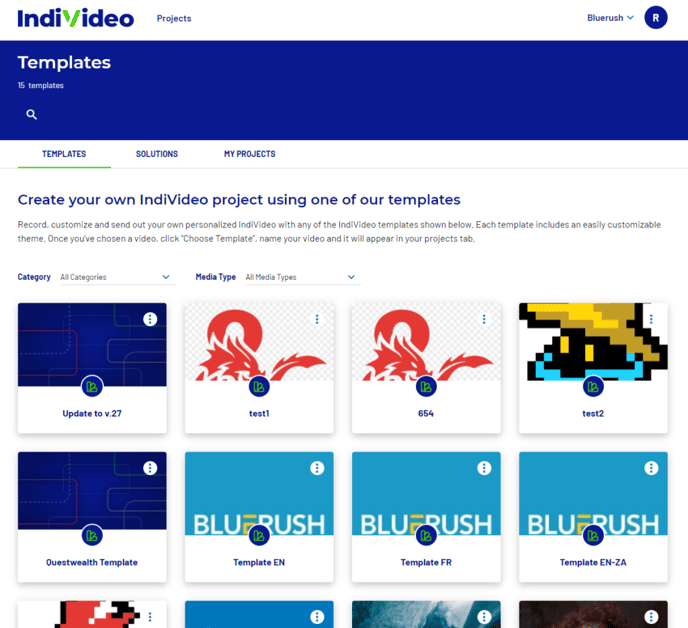
Once a media item has been published successfully as a template, you will be able to view it in the new ‘Template’ tab within the project section called the Template Gallery as shown below.
Creating a Project from a Template
You can select any template by clicking on it, this will allow you to see the features of the template as shown below.
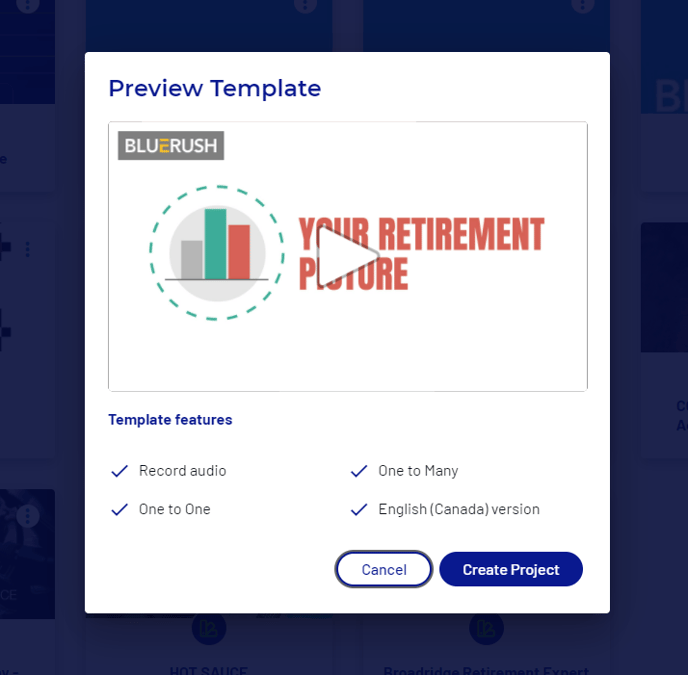
Some new terms…
One to Many
- A video created from a template marked as ‘One to Many’ can be shared as a generic video without having any specific information about the recipient. Best to share with general audiences as an informational video with customizable elements.
One to One
- A video created from a template marked as ‘One to One’ can shared as a video tailormade to a single recipient which contains data-points customized to the recipient.
A template can support both features.
When you click Create Project, you will be asked to enter a project name. Once submitted you will then be able to go through a simple 4 step approach to create a customized video, let’s see how this works!
Creating a customized video from a template
Step 1 – Configure Theme
This step will allow you to customize the look and feel of the video based on the theme elements exposed for customization by the video creator.
Step 2 – Personalization
This step will allow you to enter the default data for the customizable data-points in the video.
Step 3 – Review and Share
The final step, allows you to enter a title to your new video, a description and a thumbnail poster for the video that can be captured from any frame of the video.
When you click on ‘Save this video’ the following pop-up will be displayed.
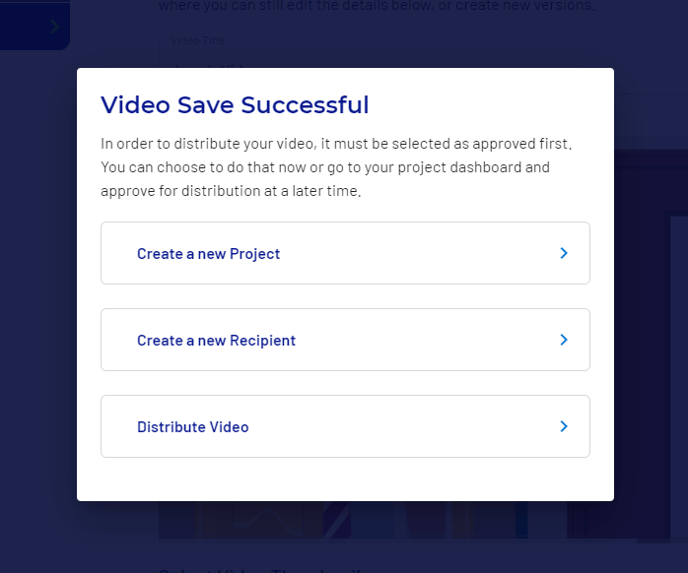
| Option | Outcome |
| Create a new project | Quit the ongoing process and move back to template gallery to start new |
| Create a new recipient | Takes the user to the media items page, to select a media item and share to a specific user |
| Distribute Video | Takes the user to the 1:1 share list to view existing shared video list |
Template Based Project
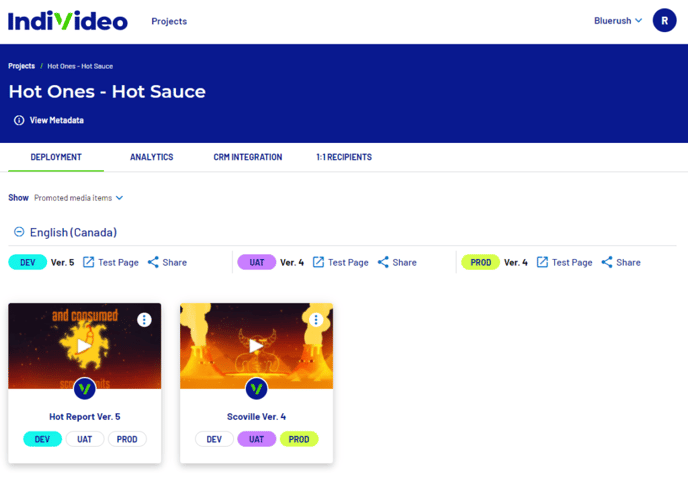
Once the above steps are completed, you will now be able to view the new template based project in your project list.
Once you click on this project, you will see a new media item that was created during the project creation steps.
Sharing a media item as a one-to-one Video
You can now share a particular media item version to a specific user, first click on the 3-dot menu on any media item and then ‘Create 1:1 Recipient’
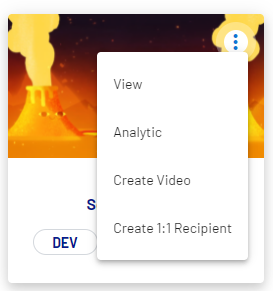
It should be noted that only a media item in Deployment status ‘PROD’ can be shared via 1:1 Recipient option
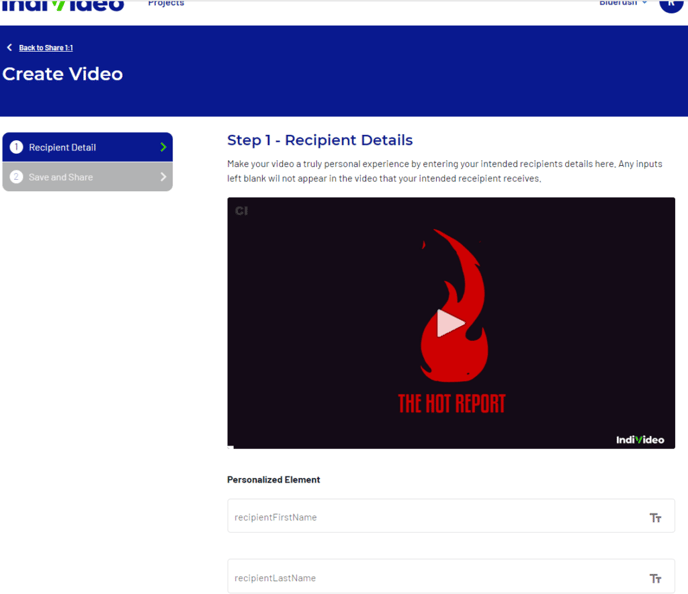
Next, you will be able to customize the data points available within your video in order to create and share a personal video for the recipient.
Step 1 allows you to enter the recipient details, while step 2 allows you to capture a video Thumbnail.
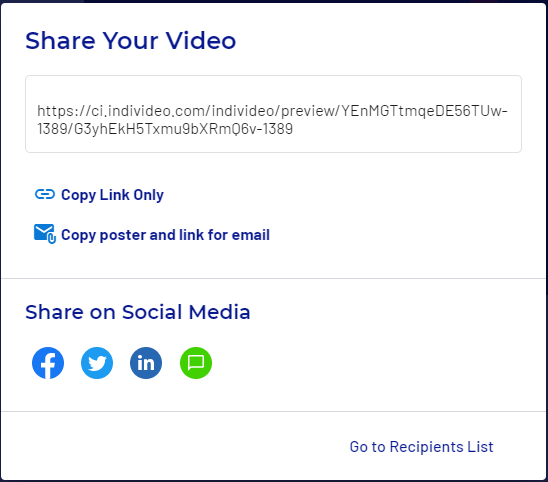
To share the video click on ‘Share’
When you click on ‘Share’ the following UI will provide you with the options for sharing you new customized 1:1 video.
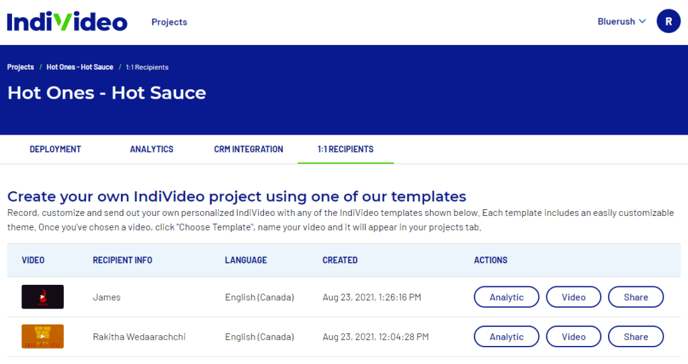
If you require to view the past recipients of a video, click the tab ‘1:1 Recipients’ and the following UI will show you a list of past recipients.
Transfer a Project to another Company
You can now easily transfer a project that you own within your company to another company easily.
Go to your projects page and click on the 3-dot menu, here you will now see the option ‘Transfer Project’
In order to transfer a project you must first have it shared with a user of the company you hope to share it with.
The following UI will guide you to transfer your project to another company.
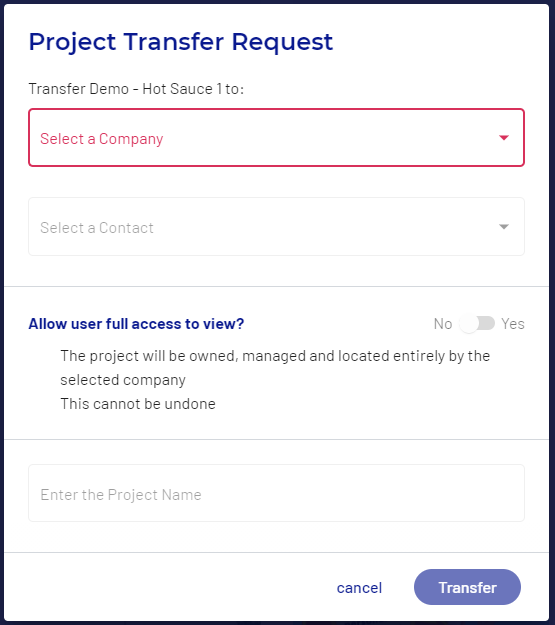
Correctly enter the project name in the last field as a validation and click ‘Transfer’ to transfer the project
The recipient of the project will then need to accept the project transfer in order to complete the transition.
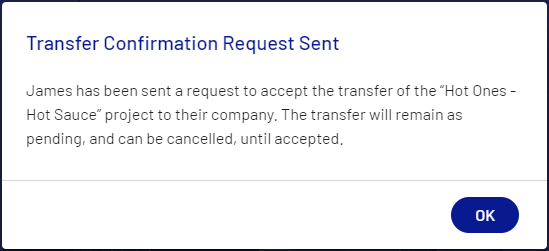
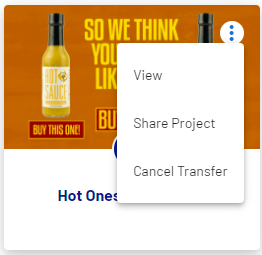
The original owner can cancel the transfer anytime before the intended recipient of ownership accepts the project by clicking on the 3-dot menu and selecting ‘Cancel Transfer’
An e-mail is delivered to the intended owner with the link to accept the transfer.
Supplement Project Details with Project Metadata
You can now add some additional details to your project to help you get organized. Template metadata is a new feature from IndiVideo that allows you to save key information regarding a project in your company.
Simply go to you project and click on the View Metadata link below the project name as shown below

This will redirect you to a new template metadata page, as shown below.
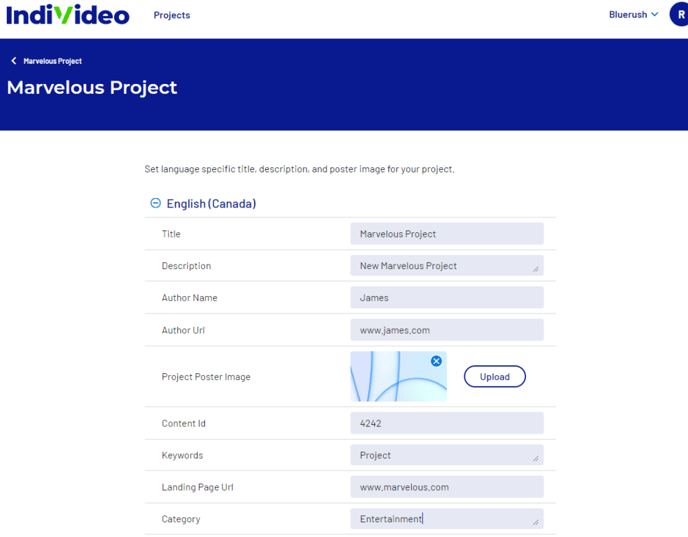
If you use more than one language, the metadata page will intelligently prompt you to enter the project details in each language you have selected for your project.
Accessibility Updates
The following latest accessibility updates were aimed to enhance support for mobile screen-readers (iOS VoiceOver, Android TalkBack)
- Animated poster frames and the personalized videos will now be avoided by screen-readers to avoid confusion to the user.
- The player control bar was updated so that mobile users are now able to move the screen-reader’s focus to read the current time, time remaining and the duration of the video.
- Improved accessibility feature that allows users to easily control the progress bar and volume bar.
.png?height=120&name=IndiVideo%202024%20Logo%20(2).png)