Save time and publish videos faster by using the Preview tab in Adobe After Effects INDIVIDEO extension.
AUDIO type video projects
Only the personalized elements will be previewed. You can use the Preview tab to verify the vector animation on your compositions, along with the default values defined in your datapoints (see The Data tab article)
Introducing the Preview tab
You should see only one composition: the one you are currently working. Otherwise, you can pick the desired composition to review by switching from focus mode (✔️) to list mode. Doing this will show you all the compositions on your project.
Preview a composition
Pick the desired composition to preview. If you are in focus mode, click “Preview” , or click the play button on the left when in list mode. The Preview tab will render the composition before previewing.
Once the preview render is done, INDIVIDEO’s proprietary player will appear. In this window, you should see the video get personalized by the default values as specified at datapoint creation (see The Data tab article, or How can I include data in a video project tutorial).
Preview only vector-based and text elements
The preview window will not play sound or raster videos. It will only preview vector-based elements and text elements in your composition as they appear on your composition’s timeline depending on your project settings.
Using Preview in browser
You can preview your composition in your default browser by using “Preview in browser” link at the top of the preview window. You’ll be able to view the same preview and selected test case directly on your default browser.
Testing the datapoints
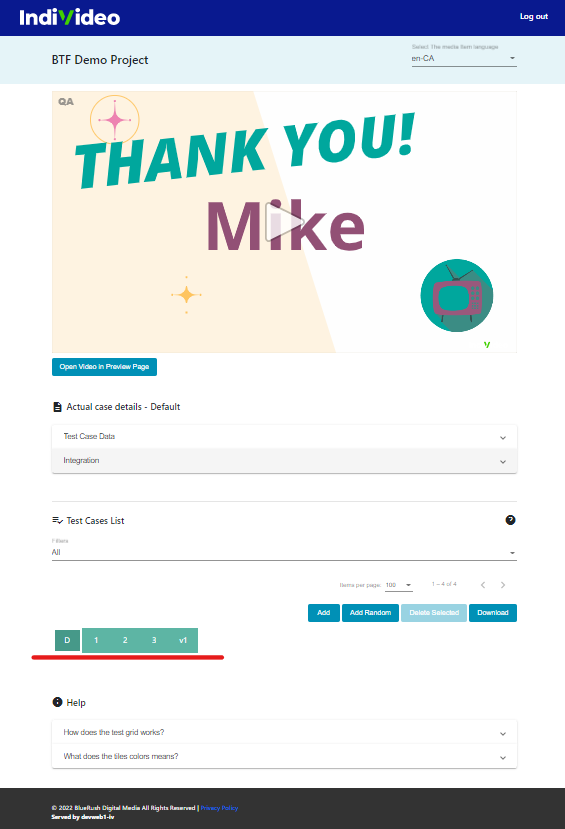
The preview window contains a form under the video player where you get to test your datapoints, create and delete test cases.
Test cases created in the preview window are saved and exported at the deployment stage (see The Deployment tab article, or this video tutorial on deploying from INDIVIDEO extension).
Generating a test case
In order to fast-track testing datapoints in your video composition, you get to create test cases using the available form. Just fill the form according to the scenario you would like to test, then click "ADD" at the bottom.
This will create a permanent test case you get to re-use in the preview window, or in IndiVideo Portal's Test page.

By using the form, you get to fine-tune your datapoints definition. For example, if some fields look weirdly defined, or shouldn't be present as an editable datapoint, you then know you should go back to the Data tab and make the necessary adjustments.
Test random data
You can also test random data by clicking on “Add Random” at the bottom. This will smart-fill your form with random data based on how each datapoint was defined.
Delete test cases
You can delete any test case by selecting one of the numbered test case at the bottom of the form, then click on "Delete Selected".
.png?height=120&name=IndiVideo%202024%20Logo%20(2).png)